Chivalware guide
Chivalware Boss Prep Guide

The Boss Starts in the Last Normal Room
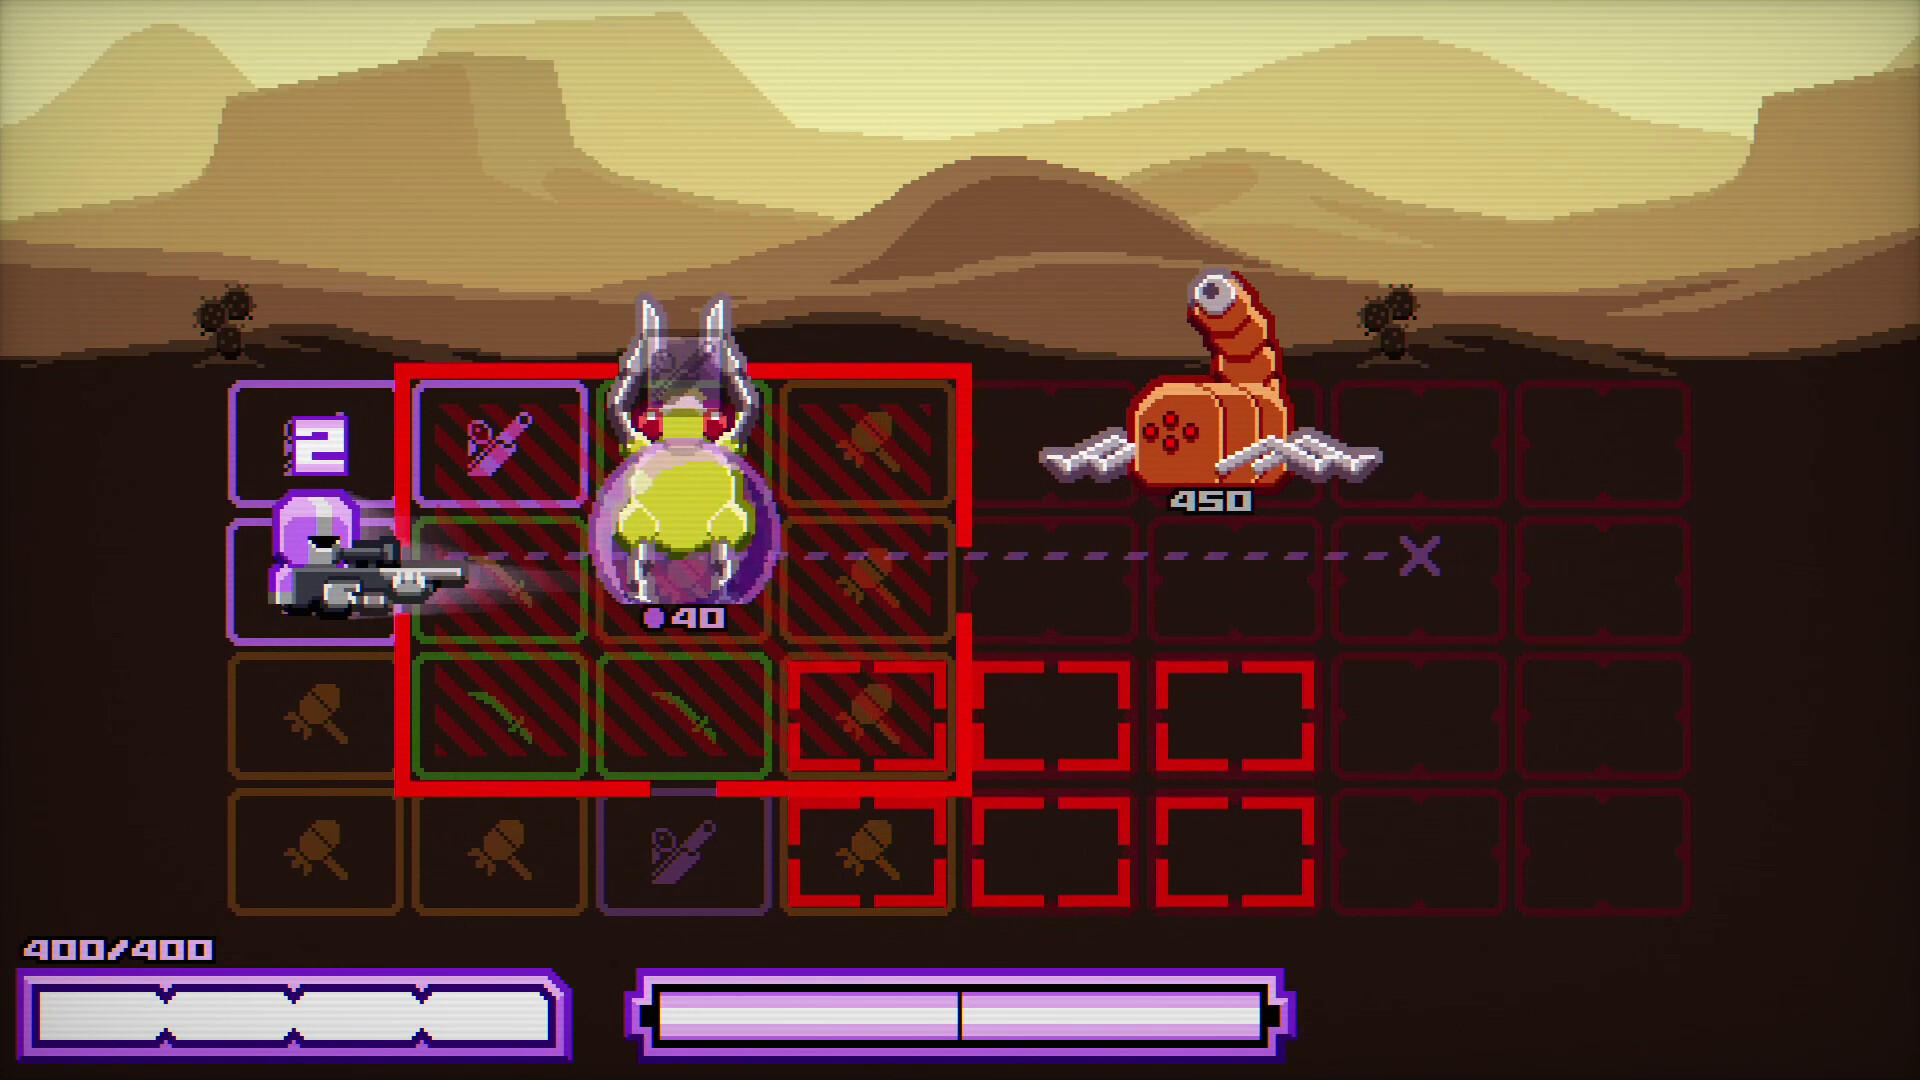
If a Chivalware boss attempt fails, do not immediately blame damage. Enter with a readable lane, decide which match color can answer the next shield, and hold one weapon charge for the first real punish window. A damage plan that keeps producing a resisted color is not ready for the boss.
When Room-Clear Power Disappears at the Boss
Bosses expose route confusion. A room-clear setup can look fine until the boss asks for a specific timing window, safe lane, or control plan. Decide whether the next fix belongs to the grid, weapon, upgrade path, or route discipline before rebuilding everything.
Why a Good Room-Clear Route Fails Here
Before You Blame the Build
A boss loss can hide three different problems. The build may be fine but entering the fight with a messy grid. The weapon may be strong but charged at the wrong time. Or the route may have taken upgrades that clear rooms while doing little for the boss. Split those apart before rebuilding.
Pre-Boss Board Check
Before crossing the door, identify the color you need for the first likely shield answer and make sure the board has a lane that can still produce it. If every good-looking match leaves only the resisted color, repair the board before spending your saved charge.
Leave the Last Room Ready, Not Empty
The last normal room is where the boss attempt is prepared. Leave a color lane open, carry a useful charge, and avoid a greedy upgrade that changes the route just before pressure rises. If the room costs too much health or closes the lane you wanted, the boss is inheriting a problem it did not create.
Failure Checks: What Never Happened?
- If you die before using the charged weapon, fix grid control first.
- If you survive but the boss health barely moves, fix the weapon job.
- If every attempt fails differently, simplify the Disk Knight route before choosing more upgrades.
Related Guides
Return to the Chivalware guides. If the first problem is route shape, open the Grid Control Guide. If the damage window arrives late, use the Weapon Disk Charging Guide. If a protected enemy keeps wasting the best match, read the Shield Color Counter Guide.