Last updated: July 15, 2026Early routeAction roguelite
Chivalware · Official game image
Good grid control is not making the biggest-looking match. Read the next shield first, keep a lane that can produce the useful finishing color, then take the match that leaves your charge and movement options alive.
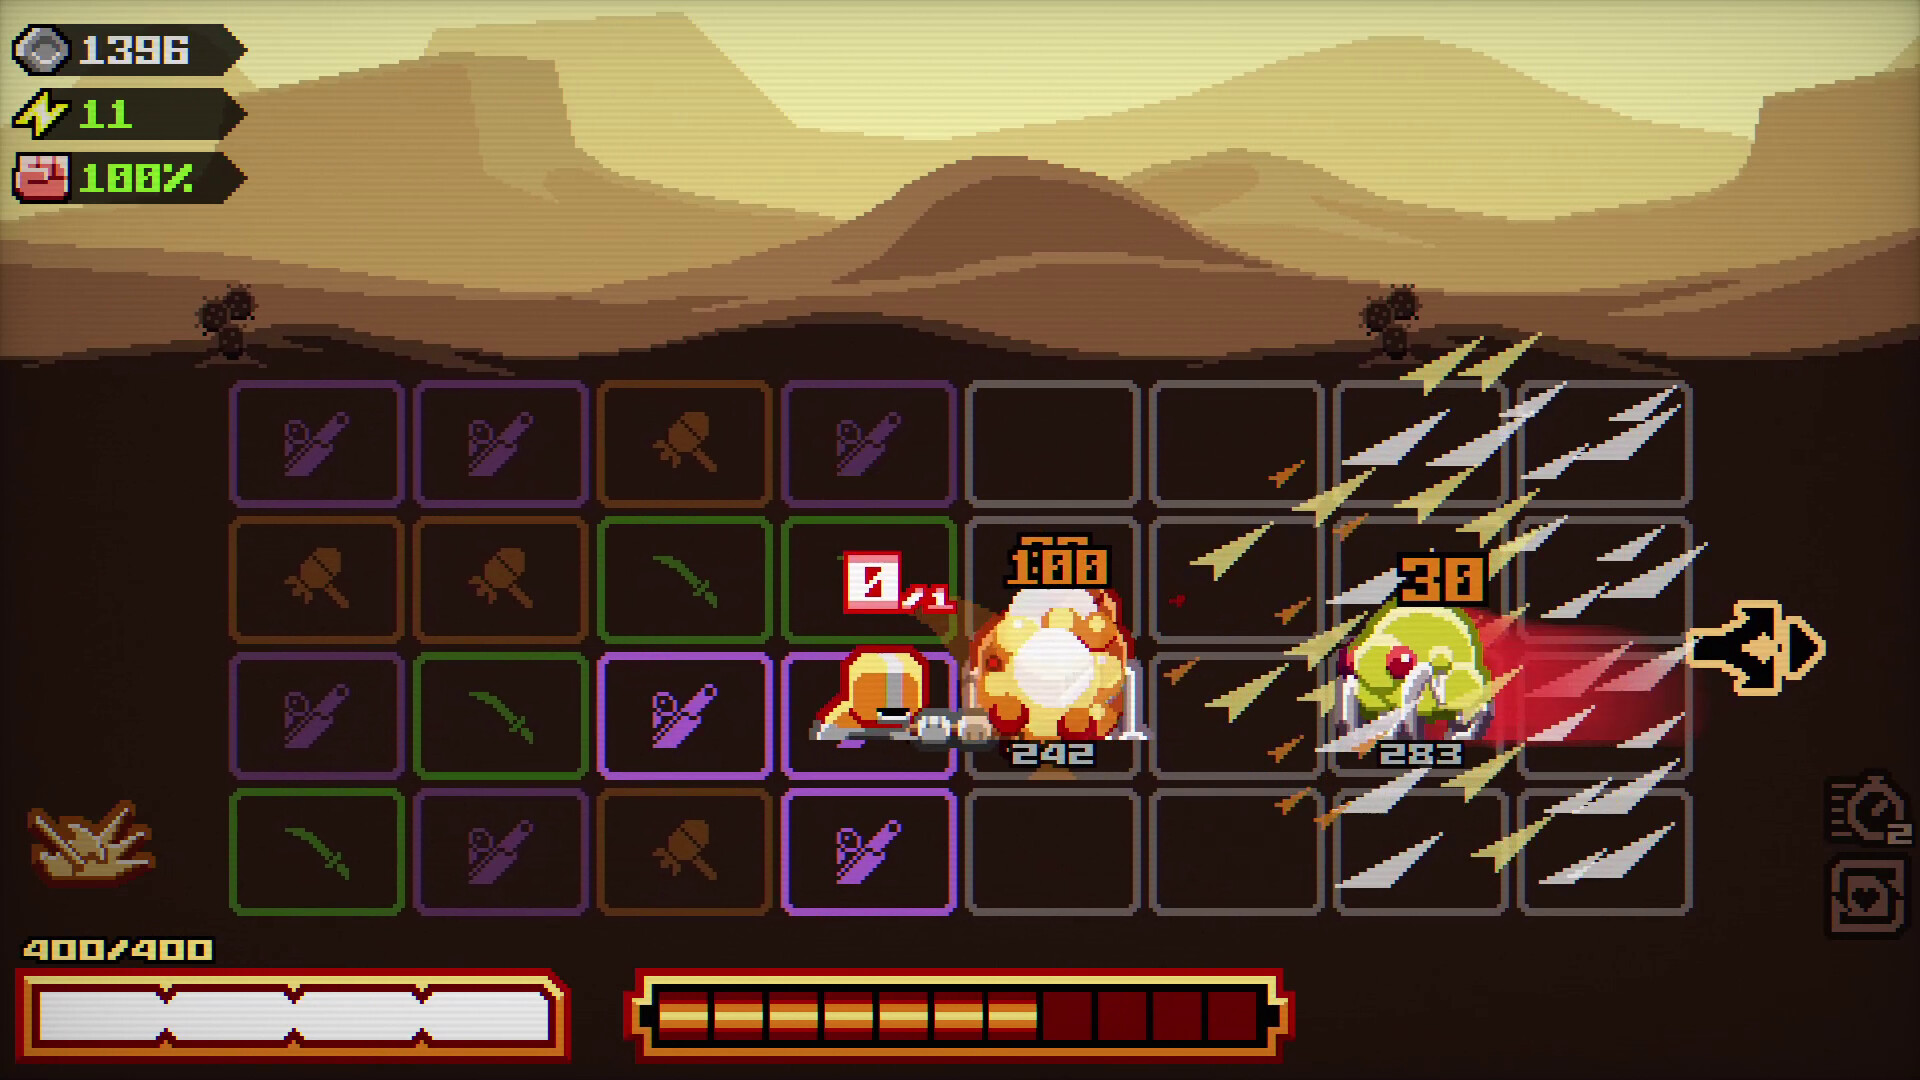
The combat grid shows how a weapon choice occupies space while attacks resolve.Steam
When Clearing Space Closes the Route
Chivalware mixes tile matching with action pressure. That means grid space is a combat resource. A match that clears space in the wrong direction can still be a bad play if it closes the lane your weapon plan needs next.
Grid Decision Matrix
Grid stateGood first moveWhy it worksWhen to ignore it
The board is open but damage is low.Make a match that feeds the weapon you already chose.Open space is only useful if it becomes pressure.Ignore if the next enemy wave will trap your exit lane.
The board is crowded near your safe lane.Clear lane safety before chasing charge value.A charged weapon does not help if the room clips you first.Ignore if a boss window is already open and the charged hit ends the phase.
The boss pattern is starting.Choose the match that keeps the next dodge and charge line visible.Boss prep is often a space problem before it is a damage problem.Ignore if the current route is already built for immediate burst.
Match, Hold, or Cash Out?
The hardest early grid decision is often doing less. If the board is already readable, do not spend the next match just because it is available. Hold the line when a future weapon charge needs space; cash out only when the room pressure is about to punish waiting.
ChoiceUse it when...Why it helpsWhen it fails
Match nowThe board is about to close a safe lane.Prevents panic movement and keeps charge timing readable.Fails if the match spends the boss window you were saving.
Hold the patternThe next weapon charge needs the same lane.Protects a future cash-out instead of chasing tiny value.Fails if enemies are already forcing damage.
Cash out damageA boss or elite window is actually open.Turns grid work into progress before pressure resets.Fails if you cash out while the escape lane is still blocked.
Color Lane, Not Just Empty Space
A clean board can still be a bad board if every remaining match ends in the color the next shield resists. Cleanup has two jobs: create movement space and preserve a route to the attack color you will need. That is why a smaller match can be the correct reset even when a larger cluster is available.
Grid stateDo this firstWhy it helpsStop doing it when
One huge cluster ends in the resisted color.Break a smaller match that opens the color lane you need.You trade one impressive hit for a usable next attack.The target is already vulnerable and the large match safely ends the room.
The board has space but no obvious next match.Leave one simple three-piece route instead of clearing every loose tile.A readable answer is more valuable than a cosmetically empty board.The room is about to overwhelm you and immediate clear is the only safe play.
A charge is ready but the finishing color is wrong.Delay the cash-out for one board repair if the lane is safe.The charge is saved for an attack that can actually answer pressure.Holding it causes avoidable damage before you can make the repair.
What to check when the plan stops working
If every room feels like panic, your matches are probably spending future lanes.
If bosses survive with low health, you may be clearing space safely but missing the weapon-charge window.
If upgrades feel random, return to the Beginner Guide and name the grid job first.